
Audio
Streaming
Words
Baptism services
Shutdown
Amps are switched on
The amps should be switched on after the sound desk (to avoid potential damage to the speakers)
Mic levels good in overflow (will need a 2nd person to assist)
If there is no sound:
Check the amp is on and volume up.

Check audio is being sent in OBS. You may need to re-select the audio source by clicking on the menu button top-left, then selecting Settings -> Audio -> Speakers (lineout).
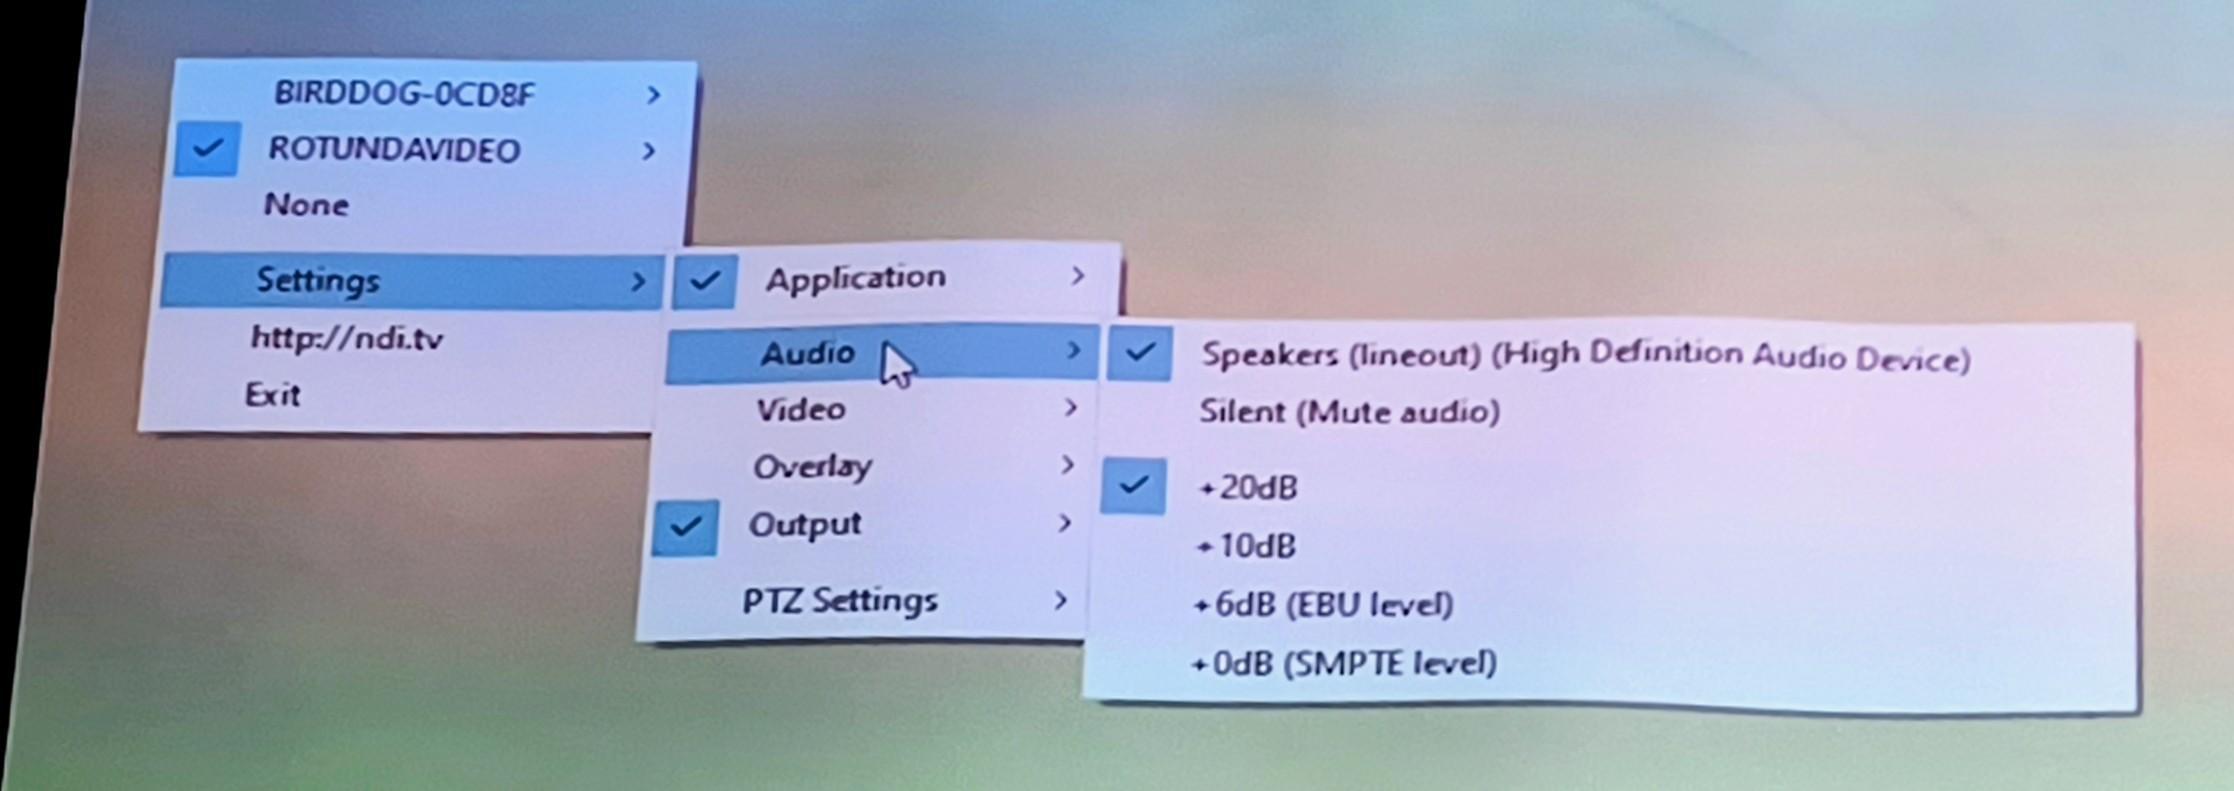
You can also adjust the levels on the sound desk.
Sound on in foyer
There is a speaker on the bookshelves, with audio coming directly from the sound desk.
OBS is outputting to TV on backwall
The switches are behind the TV.
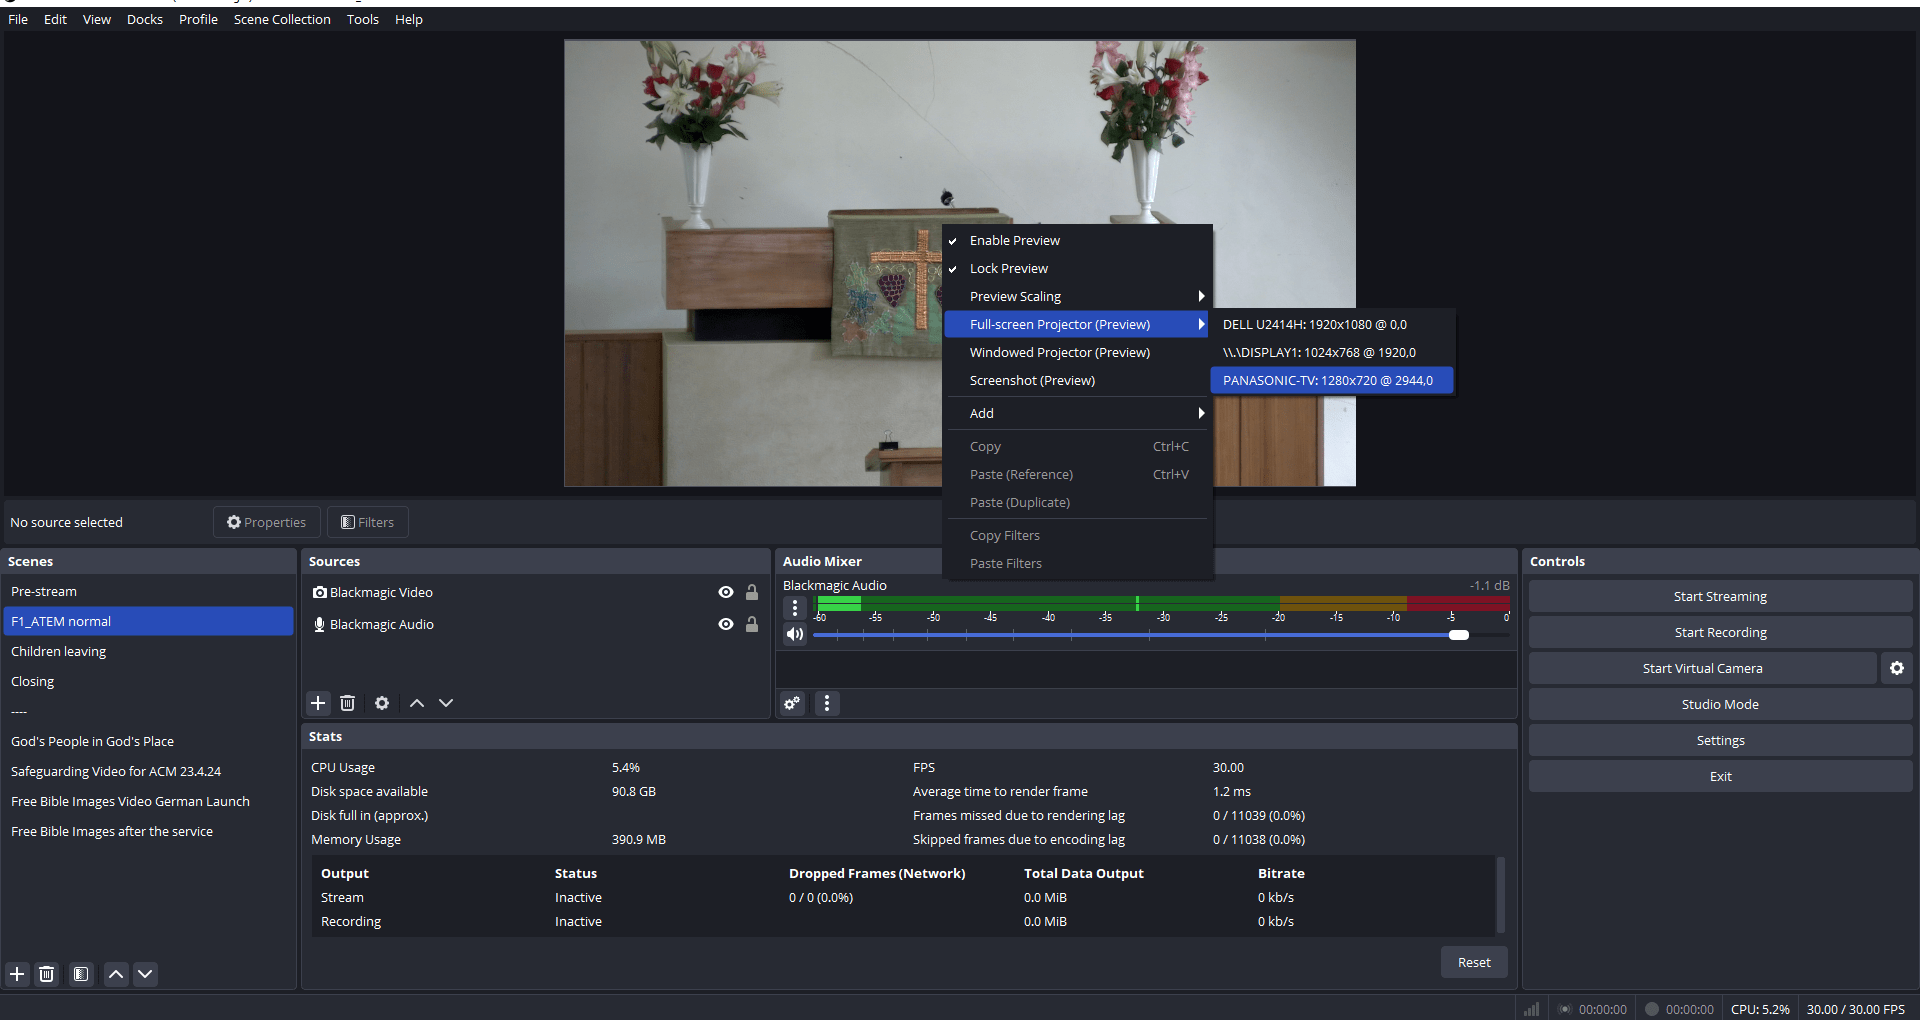
If the TV isn't displaying correctly, right-click on the preview in OBS and select Full-screen Projector -> Panasonic.
Cameras powered on and focussed
The Sony camera is powered by the switches on the back wall.
If the BirdDog (Camera 1) image is upside down:
- open Firefox web browser
- navigate to 192.168.1.61/videoset
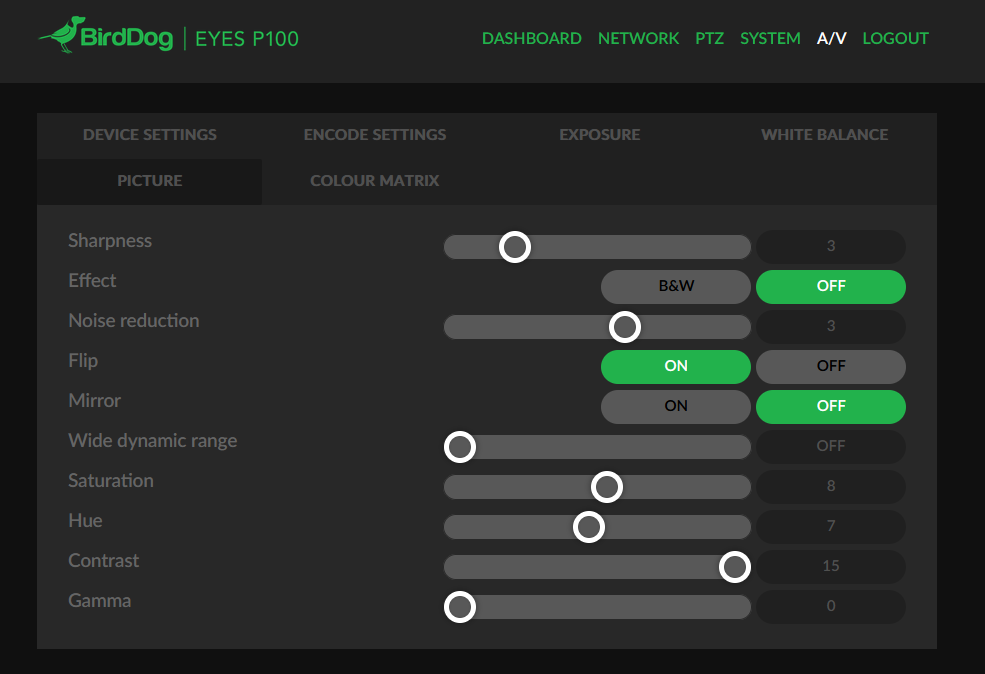
- ensure "Flip" in set to "On" (under A/V - Picture)
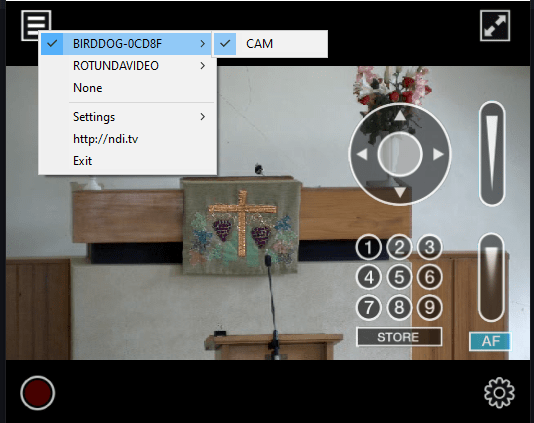
Load (NDI) Studio Monitor to control PTZ camera and check which presets are useful
If the controls aren't visible after loading NDI Studio Monitor, check the BirdDog camera is selected from the menu.
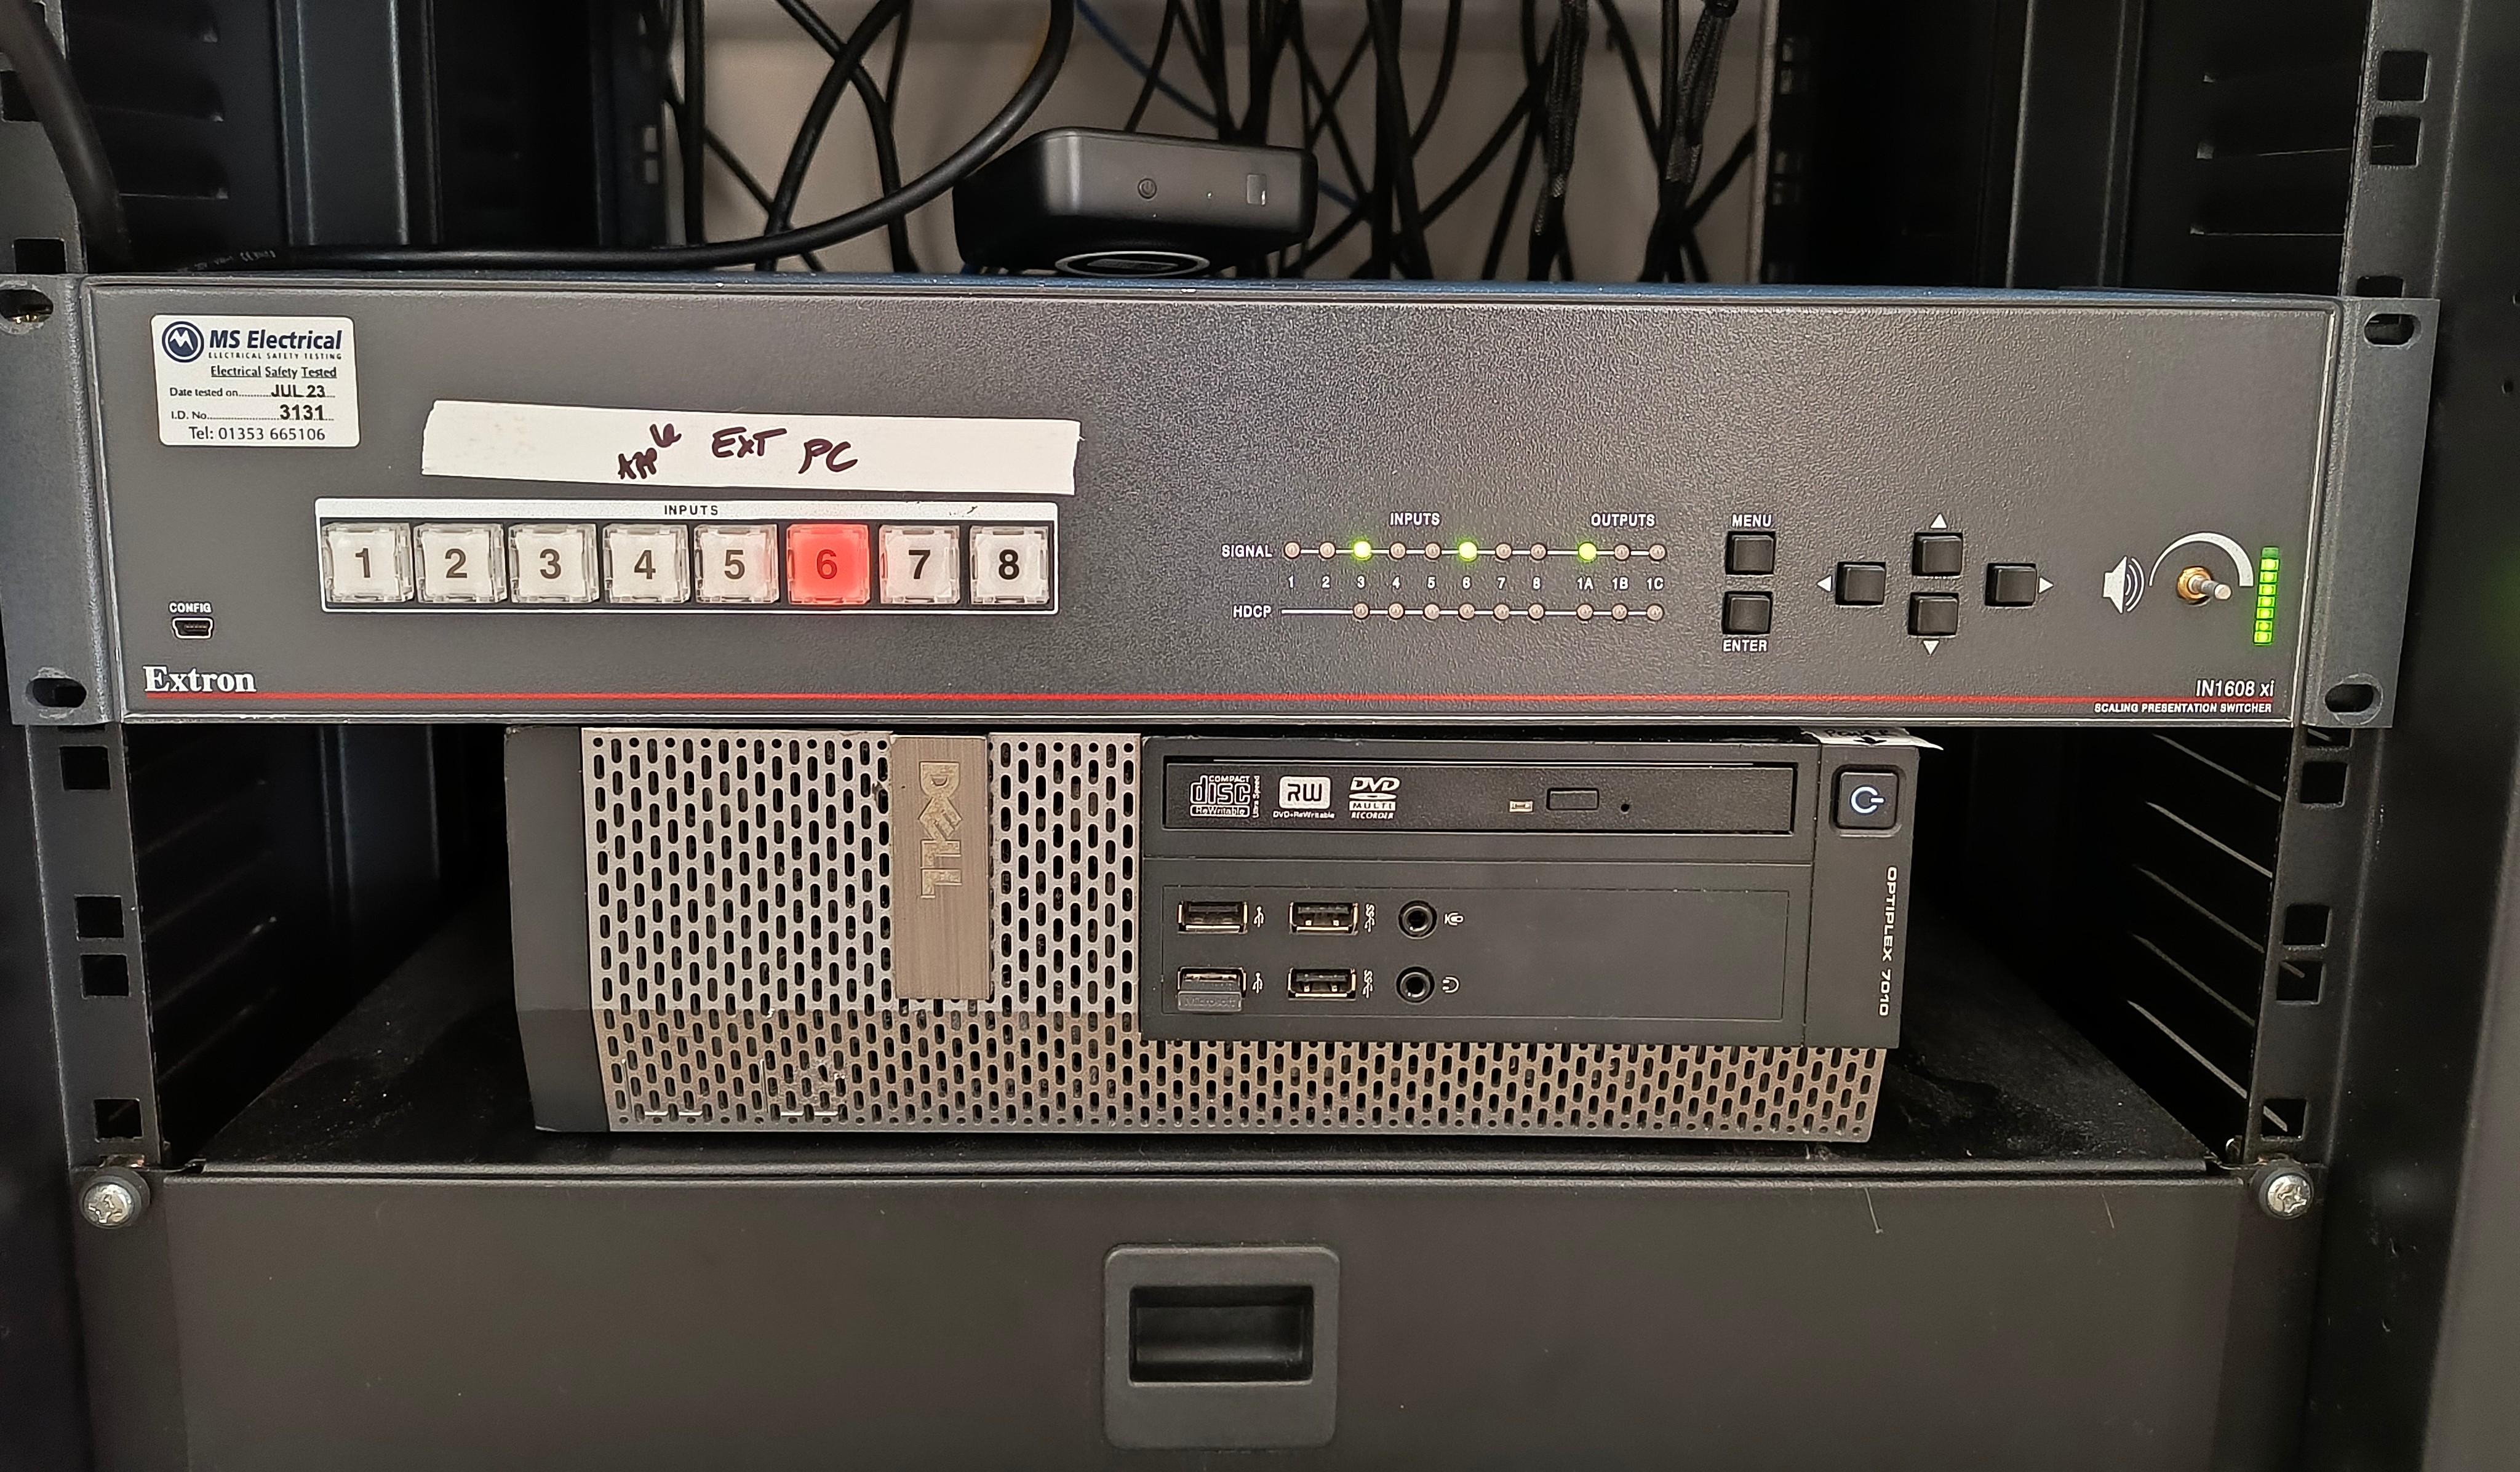
Power on PC and projector in overflow
If there is no image:
Check the projector is set to HDMI2. Check PC is selected on the switcher.
If there is no sound:
Check the amp is on and volume up.
Check audio is being sent in OBS. You may need to re-select the audio source by clicking on the menu button top-left, then selecting Settings -> Audio -> Speakers (lineout).
You can also adjust the levels on the sound desk.
Power on PC and screen on in foyer
The PC is behind the screen.
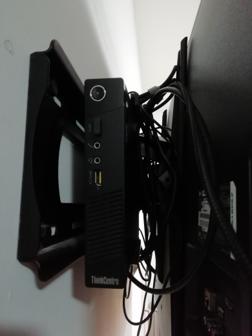
The keyboard to control the PC is on the bookshelf.
Check order of service for any camera switches required
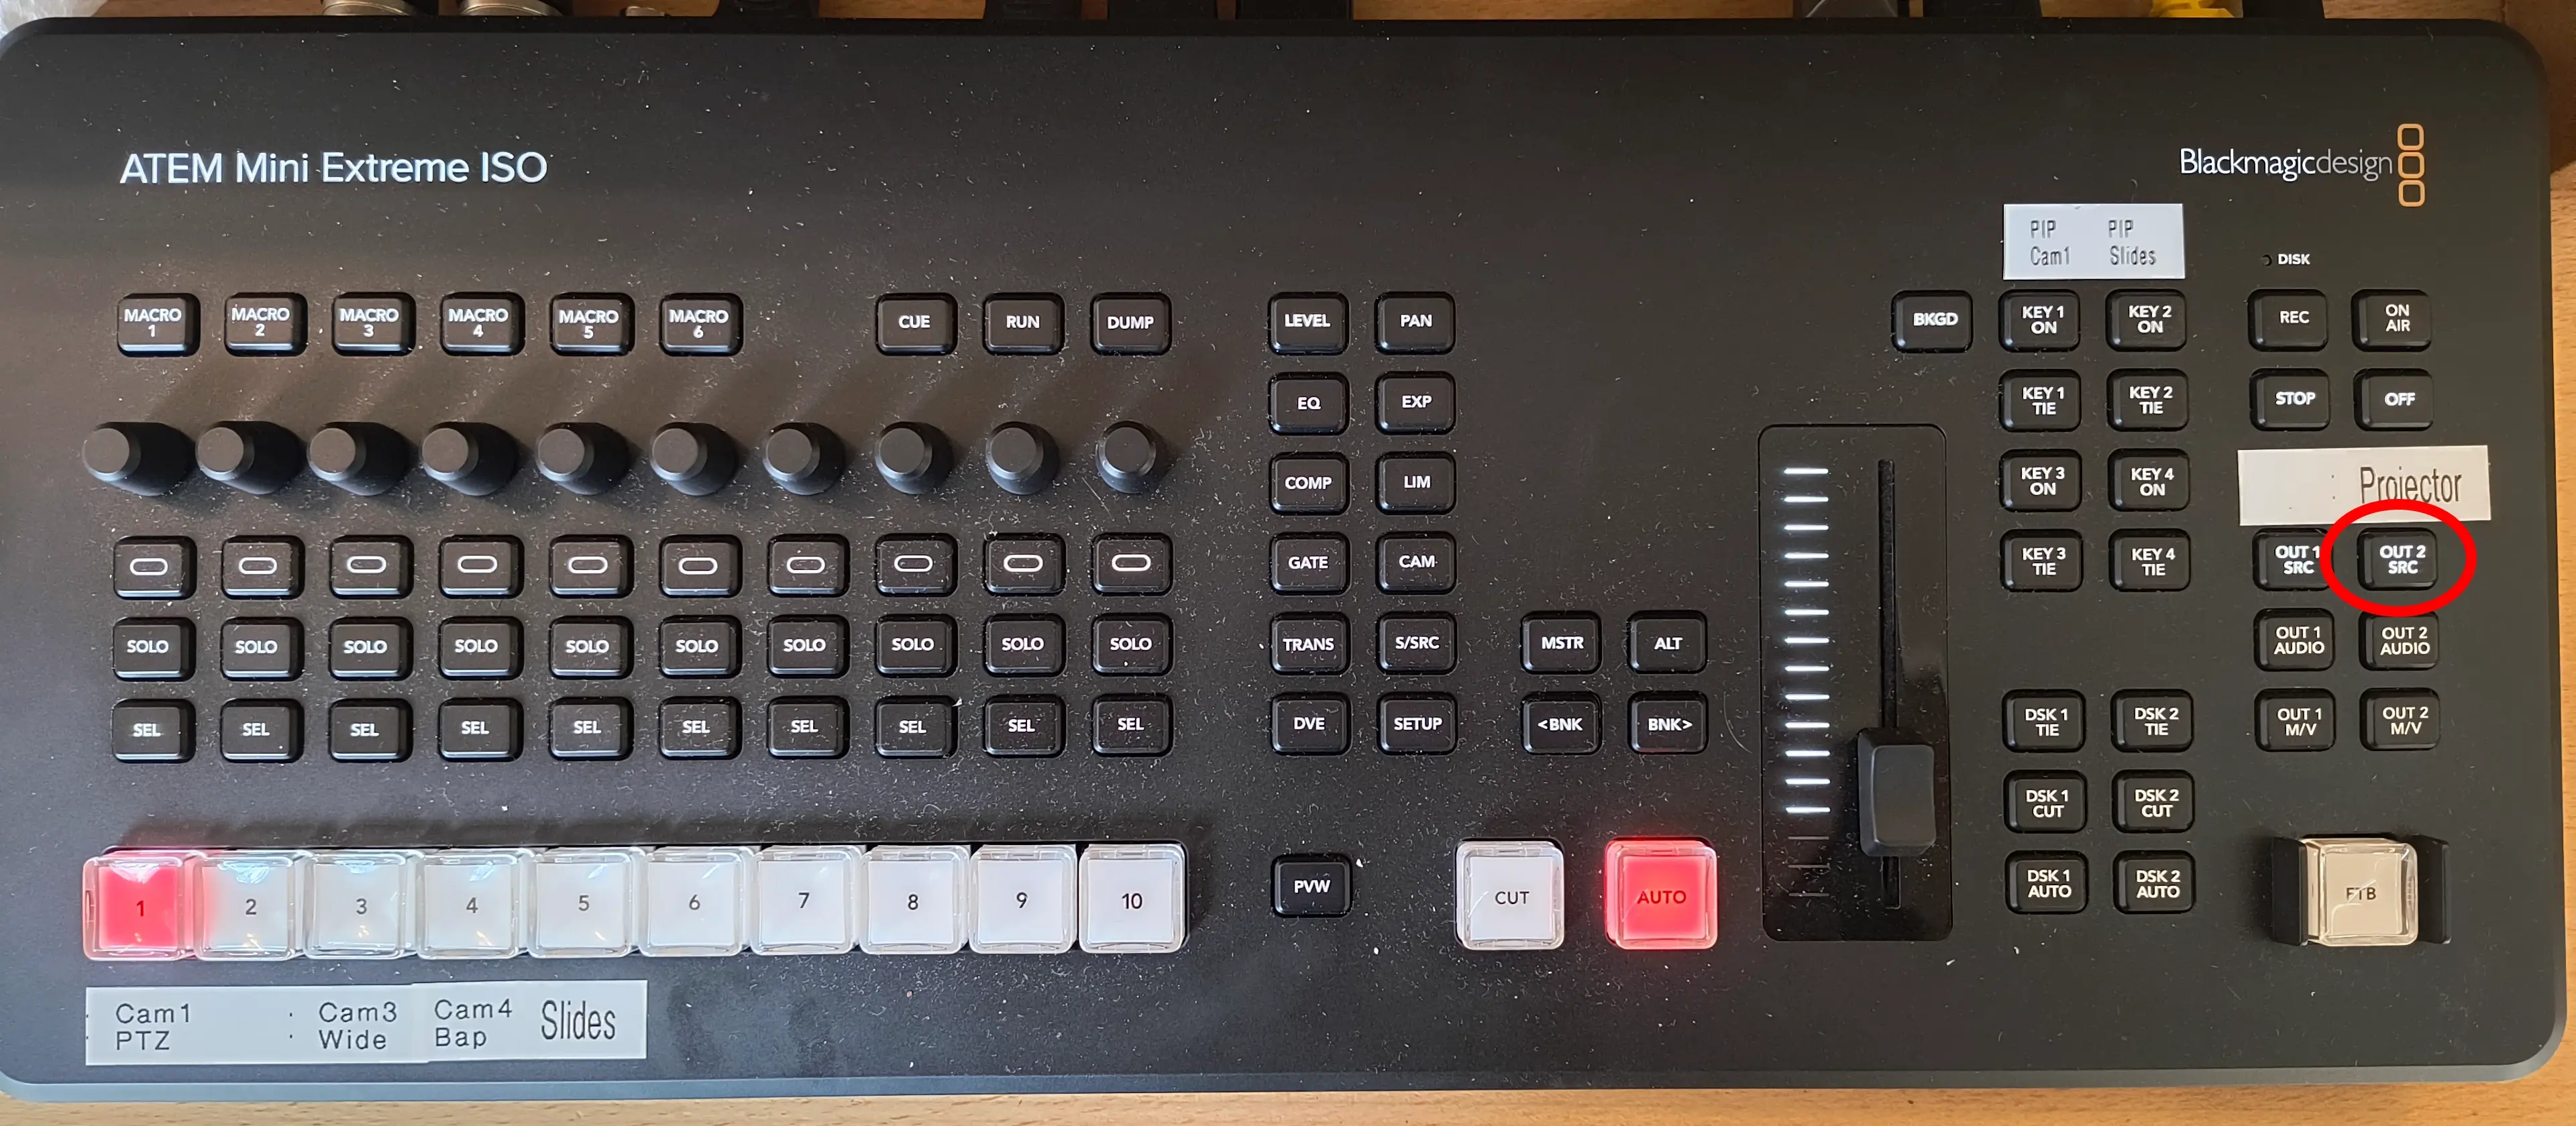
To switch the camera to the projection screen:
- Press and hold the button labelled “Projector” (“OUT 2 SRC”) on the far right (circled in red on the image below)
- While keeping that button held, press the numbered button you need (e.g. “Cam3 Wide”)
- To switch back to the slides follow the same process button select button 5 (“Slides”) instead
The Presenter laptop is setup in the dock
You can use either of the 2 laptops. The laptop password is RejoiceAlways .
If Presenter asks you to log in, the username is av@farnhambaptist.org and the password is RejoiceAlways!
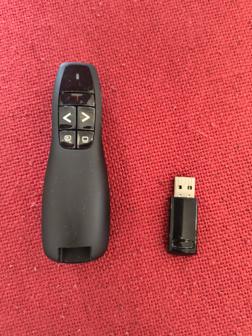
Clicker tested and placed on lectern
Ensure the USB dongle is placed in the laptop dock. If not in the dock, it will need sliding out from the bottom of the clicker.
Setup the camera
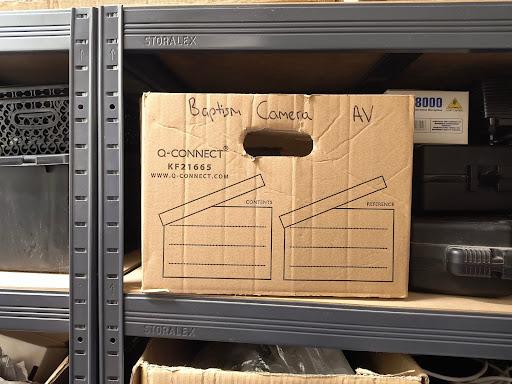
The equipment required for the baptistry camera is located on the shelf in the store room:
The stand is located with the mic stands in the store room, and has a special clip on top for the camera to slide into. Set it up and position it, ensuring there is enough space for people’s heads. Aim for something similar to the image below:
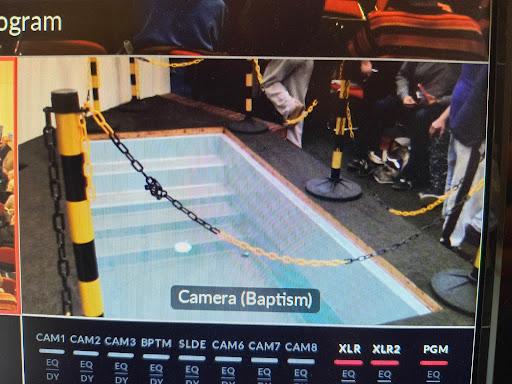
Keep mains electrical cables as far away from the baptistry as possible. The yellow cable plugs into the network port at the back of the pulpit.
To switch the camera to the projection screen:
- Press and hold the button labelled “Projector” (“OUT 2 SRC”) on the far right (circled in red on the image below)
- While keeping that button held, press the “Cam4 Bap” button
- To switch back to the slides follow the same process button select button 5 (“Slides”) instead
Alternatively, you can select input via the streamdeck. Navigate to the 2nd page and select “Project Baptism”. To switch back select “Project Slides”.
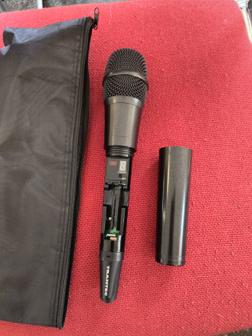
Switch on the hand-held radio mic and put it in position
- This is in the mic drawer in a long black fabric case
- The lower part of the body unscrews giving you access to the battery compartment
- Switch this on (there’s a slide switch on the bottom) and place next to the baptistry (being careful to place it somewhere easily visible/accessible, but ensuring it can’t roll or be knocked into the water)
Put away mics
Please leave the following in place:
- piano DI box and cable
- drum mics and cables
- foldback speakers and cables
Everything else can be put away away.
Turn off amps in vestry
The amps should be switched off before the sound desk (to avoid potential damage to the speakers)
Upload video to Vimeo
Vimeo is a shortcut link in the web browser. You should already be signed in.
Update the Vimeo metadata and edit thumbnail
Use the title slide from the sermon for the thumbnail.
Then publish the video, adding to Showcase -> Catchup 2024 and Channel -> Catchup 2024.
It can be published while still optimising.
Turn off PC and screen in foyer
The PC is behind the screen.
The keyboard to control the PC is on the bookshelf.